Containerization-and-DevOps
Containerization and DevOps Lab
EXPERIMENT – 01
Name – Siddharth Negi Batch - B3 Sap_id - 500121910 Roll_no - R2142231376
Objective
To understand the conceptual and practical differences between Virtual Machines and Containers. To install and configure a Virtual Machine using VirtualBox and Vagrant on Windows. To install and configure Containers using Docker inside WSL. To deploy an Ubuntu-based Nginx web server in both environments. To compare resource utilization, performance, and operational characteristics of VMs and Containers.
Theory
Virtual Machine (VM) A Virtual Machine emulates a complete physical computer, including its own operating system kernel, hardware drivers, and user space. Each VM runs on top of a hypervisor. Characteristics: Full OS per VM Higher resource usage Strong isolation Slower startup time
Container Containers virtualize at the operating system level. They share the host OS kernel while isolating applications and dependencies in user space. Characteristics: Shared kernel Lightweight Fast startup Efficient resource usage
Experiment Setup – Part A: Virtual Machine (Windows)
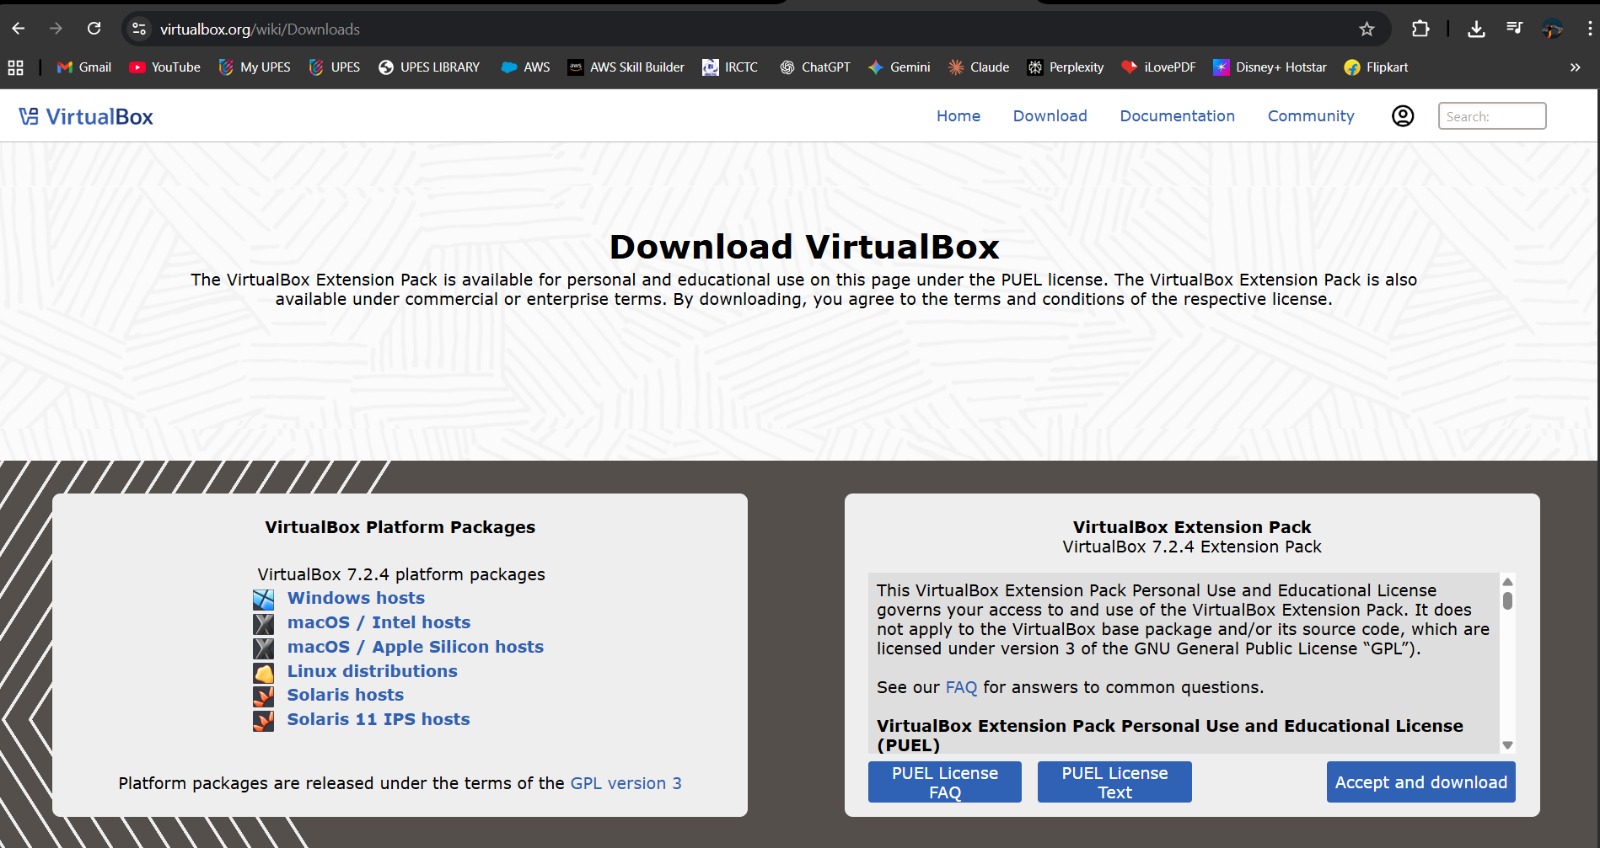
Step 1: Install VirtualBox
Download VirtualBox from the official website.
Run the installer and keep default options.
Restart the system if prompted.
Step 2: Install Vagrant
Download Vagrant for Windows. Install using default settings. Verify installation:

Code : vagrant --version
Step 3: Create Ubuntu VM using Vagrant
Initialize Vagrant with Ubuntu box:
vagrant init hashicorp/bionic64
Start the VM
vagrant up
When you run vagrant init hashicorp/bionic64, Vagrant creates a configuration file called Vagrantfile inside the project folder. This file contains all the instructions needed to create a virtual machine. In hashicorp/bionic64, HashiCorp is the publisher of the Vagrant box, bionic refers to Ubuntu 18.04 LTS (Bionic Beaver), and 64 indicates that it is a 64-bit operating system. When you run vagrant up, Vagrant reads the Vagrantfile and communicates with VirtualBox (or another configured provider). If the required Ubuntu image is not already available on the system, Vagrant automatically downloads the box. It then creates a virtual machine, allocates system resources such as CPU, RAM, and network settings, and finally boots the Ubuntu virtual machine, making it ready for use.
Access the VM:
vagrant ssh
What’s happening? Vagrant connects you to the VM using SSH You enter the Ubuntu terminal without password You are now inside the virtual machine
Step 4: Install Nginx inside VM
sudo apt update sudo apt install -y nginx sudo systemctl start nginx
time systemctl start nginx
What this command does (combined explanation) systemctl start nginx This command tells systemd (Linux service manager) to start the Nginx web server service on the system. The time keyword measures how long the command takes to execute. Starts the Nginx service and measures the time taken to start it.
Step 5: Verify Nginx
curl localhost
Stop and remove vm
vagrant halt vagrant destroy
Experiment Setup – Part B: Containers using WSL (Windows)
Step 1: Install WSL 2
wsl --install
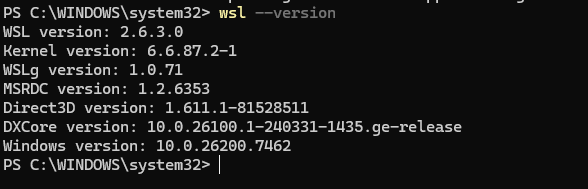
Verify installation
wsl --version
Step 2: Install Ubuntu on WSL
wsl --install -d Ubuntu
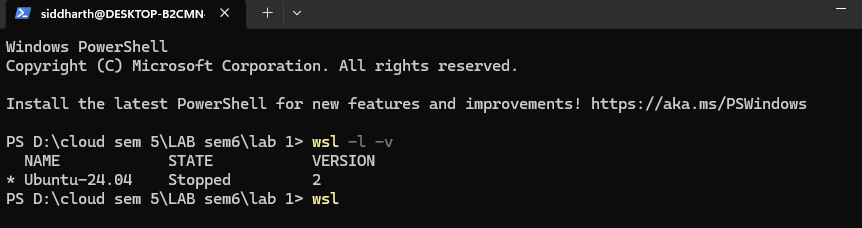
Verify installation
wsl -l -v
Step 3: Install Docker Engine inside WSL
sudo apt update sudo apt install -y docker.io sudo systemctl start docker sudo usermod -aG docker $USER verify installation

Step 4: Run Ubuntu Container with Nginx
docker pull ubuntu
docker run -d -p 8080:80 –name nginx-container nginx
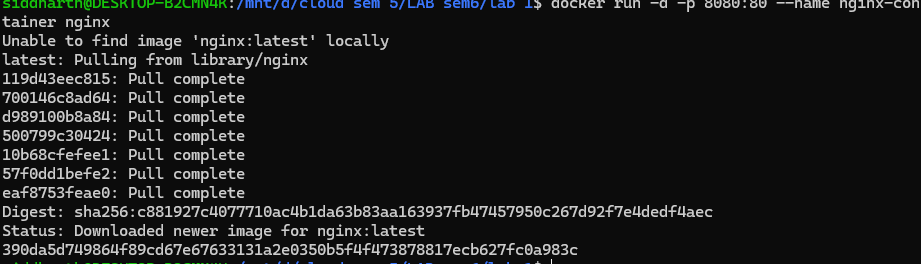
Docker pull ubuntu: This command downloads the Ubuntu Linux image from Docker Hub to your system. Docker run -d -p 8080:80 –name nginx-container nginx: It creates and runs an Nginx container in the background and maps it to port 8080 on your system.
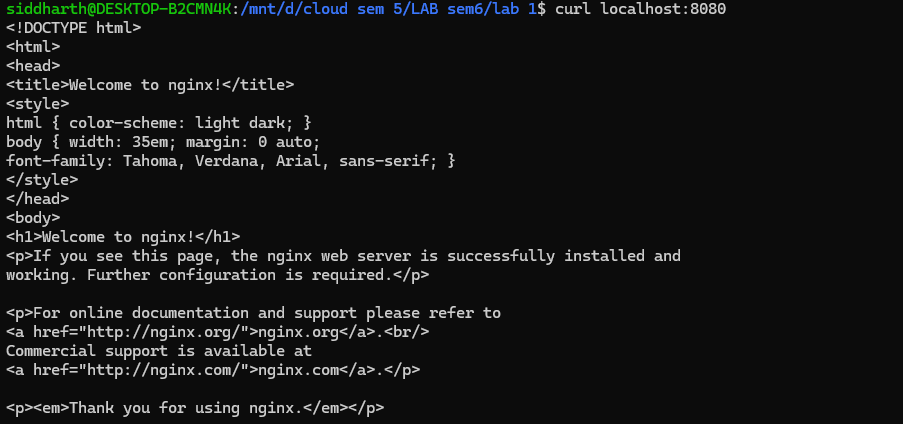
Step 5: Verify Nginx in Container
curl localhost:8080
Resource Utilization Observation VM Observation Commands
free -h

What it does: Displays memory (RAM) usage of the system What it shows: Total RAM Used RAM Free RAM Available RAM Swap memory
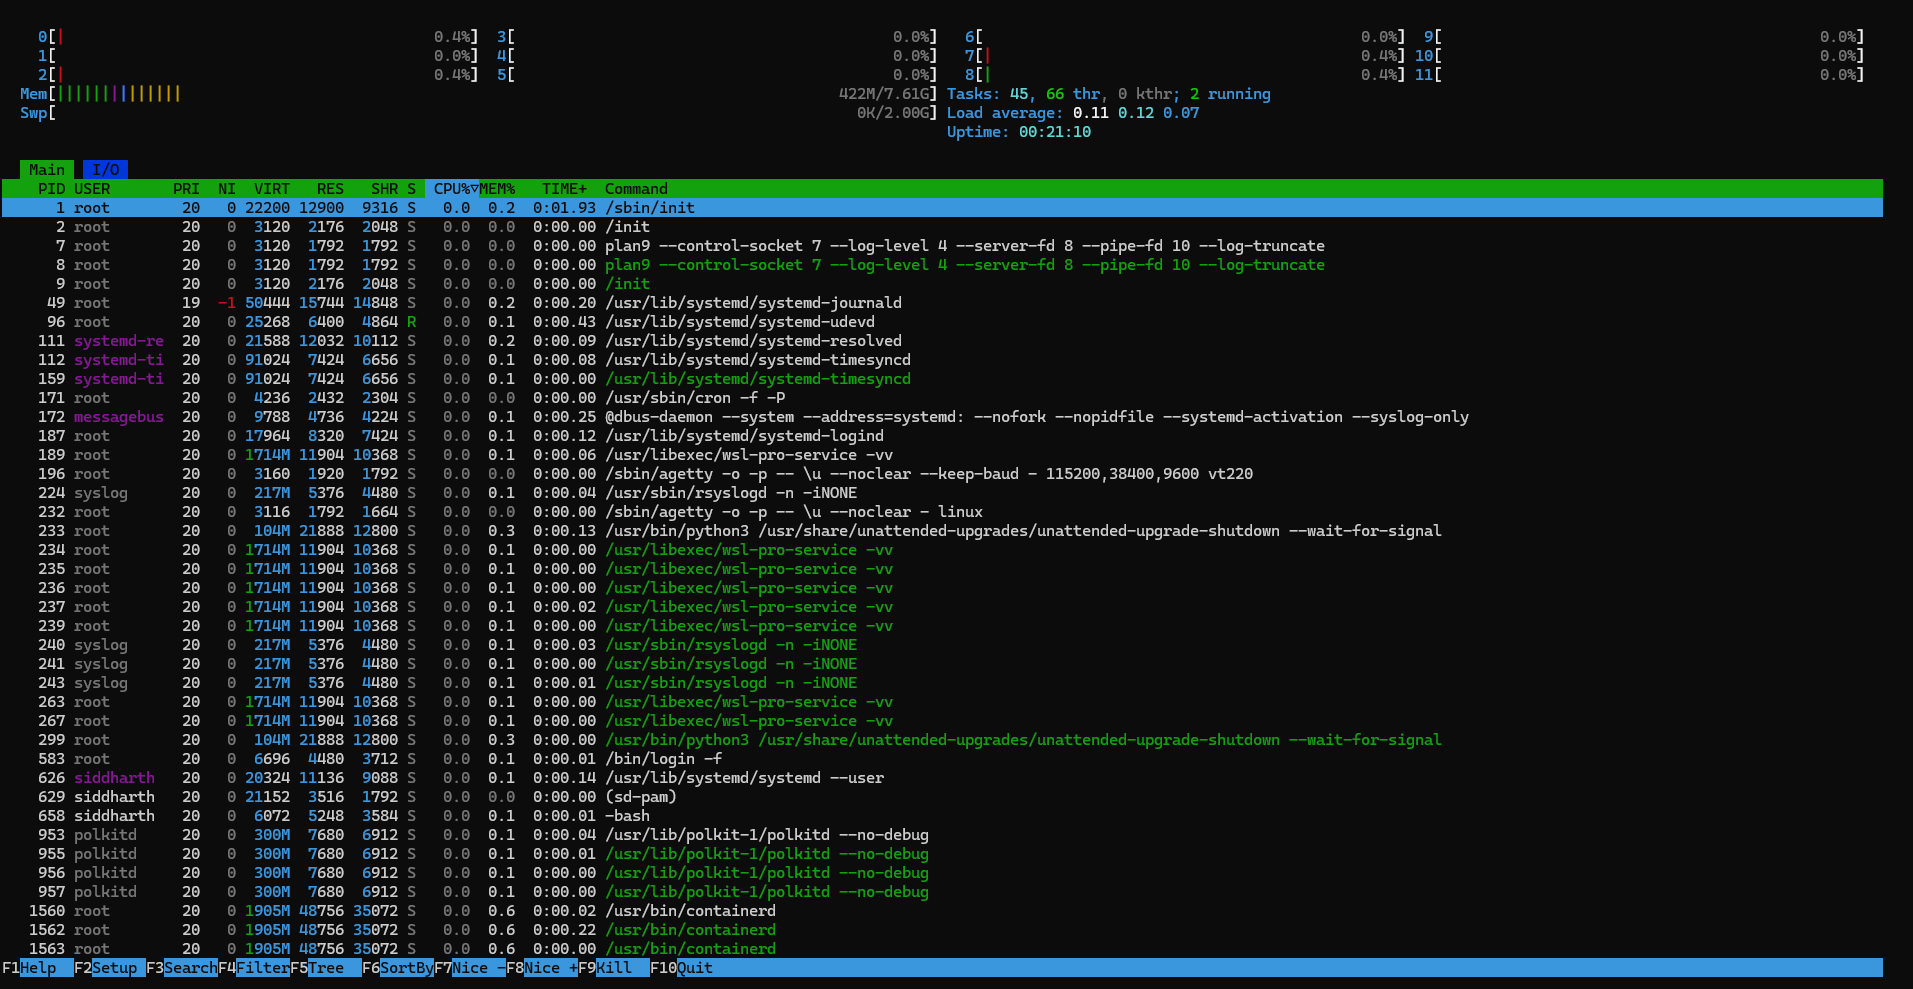
htop
What it does: Shows real-time system performance What it displays: CPU usage RAM usage Running processes Process IDs, users, load average
systemd-analyze

What it does: Measures system boot time What it shows: Time taken by: Kernel Userspace Total boot time
Container Observation Commands
docker stats

What it does: Shows real-time resource usage of running containers What you’ll see: CPU usage Memory usage / limit Network I/O Disk I/O
free -h
What this command does Displays the system’s memory (RAM) usage Shows how much memory is: Total Used Free Available Swap The -h flag means human-readable (MB / GB instead of bytes).

Parameters to Compare: Virtual Machine vs Container
Explanation of Each Parameter Boot Time Virtual Machine: Takes more time to start because it boots a full operating system. Container: Starts almost instantly since it shares the host OS kernel.
RAM Usage Virtual Machine: Requires dedicated memory for its own OS and services. Container: Uses less memory as it shares system resources with the host.
CPU Overhead Virtual Machine: More CPU usage due to hardware virtualization. Container: Minimal overhead because applications run directly on the host kernel.
Disk Usage Virtual Machine: Needs large disk space for OS image and virtual disks. Container: Lightweight images consume less storage.
Isolation Virtual Machine: Strong isolation as each VM runs its own OS. Container: Moderate isolation since containers share the host OS kernel.
Conclusion
Virtual Machines are suitable for full OS isolation and legacy workloads, whereas Containers are ideal for microservices, rapid deployment, and efficient resource utilization.